
In this tutorial we look at how to send an automated email to new Leads created from contact forms on an Odoo website landing page.
Email autoresponders are a great way to engage with your new contacts and subscribers by sending a customized email when a new user signs up. This article will guide you through the process of setting up an email autoresponder in Odoo, a feature that is particularly useful for collecting leads or when subscribing clients to newsletters.
To set up an autoresponder in Odoo, you'll need to add a field to the form to select tags. This field should be required and hidden to ensure that every lead is correctly tagged. Once the form is set up, you can create an email template and an automated action to send the email. The beauty of this system is that it allows for a high level of personalization. For example, the email can include dynamic objects such as the customer's name, which can significantly increase open and response rates.
Adding an email autoresponder to website forms in Odoo is a powerful tool for managing leads and enhancing your marketing efforts. With the right setup, you can automate your processes, personalize your correspondence, and effectively manage your leads. So, why wait?
Who is this for?
If you are an Odoo website builder or marketing professional running an Odoo website.
To create an autoresponder, you'll need administrator permissions and activate developer mode and have automated actions installed.
Steps to add an autoresponder to your Odoo website
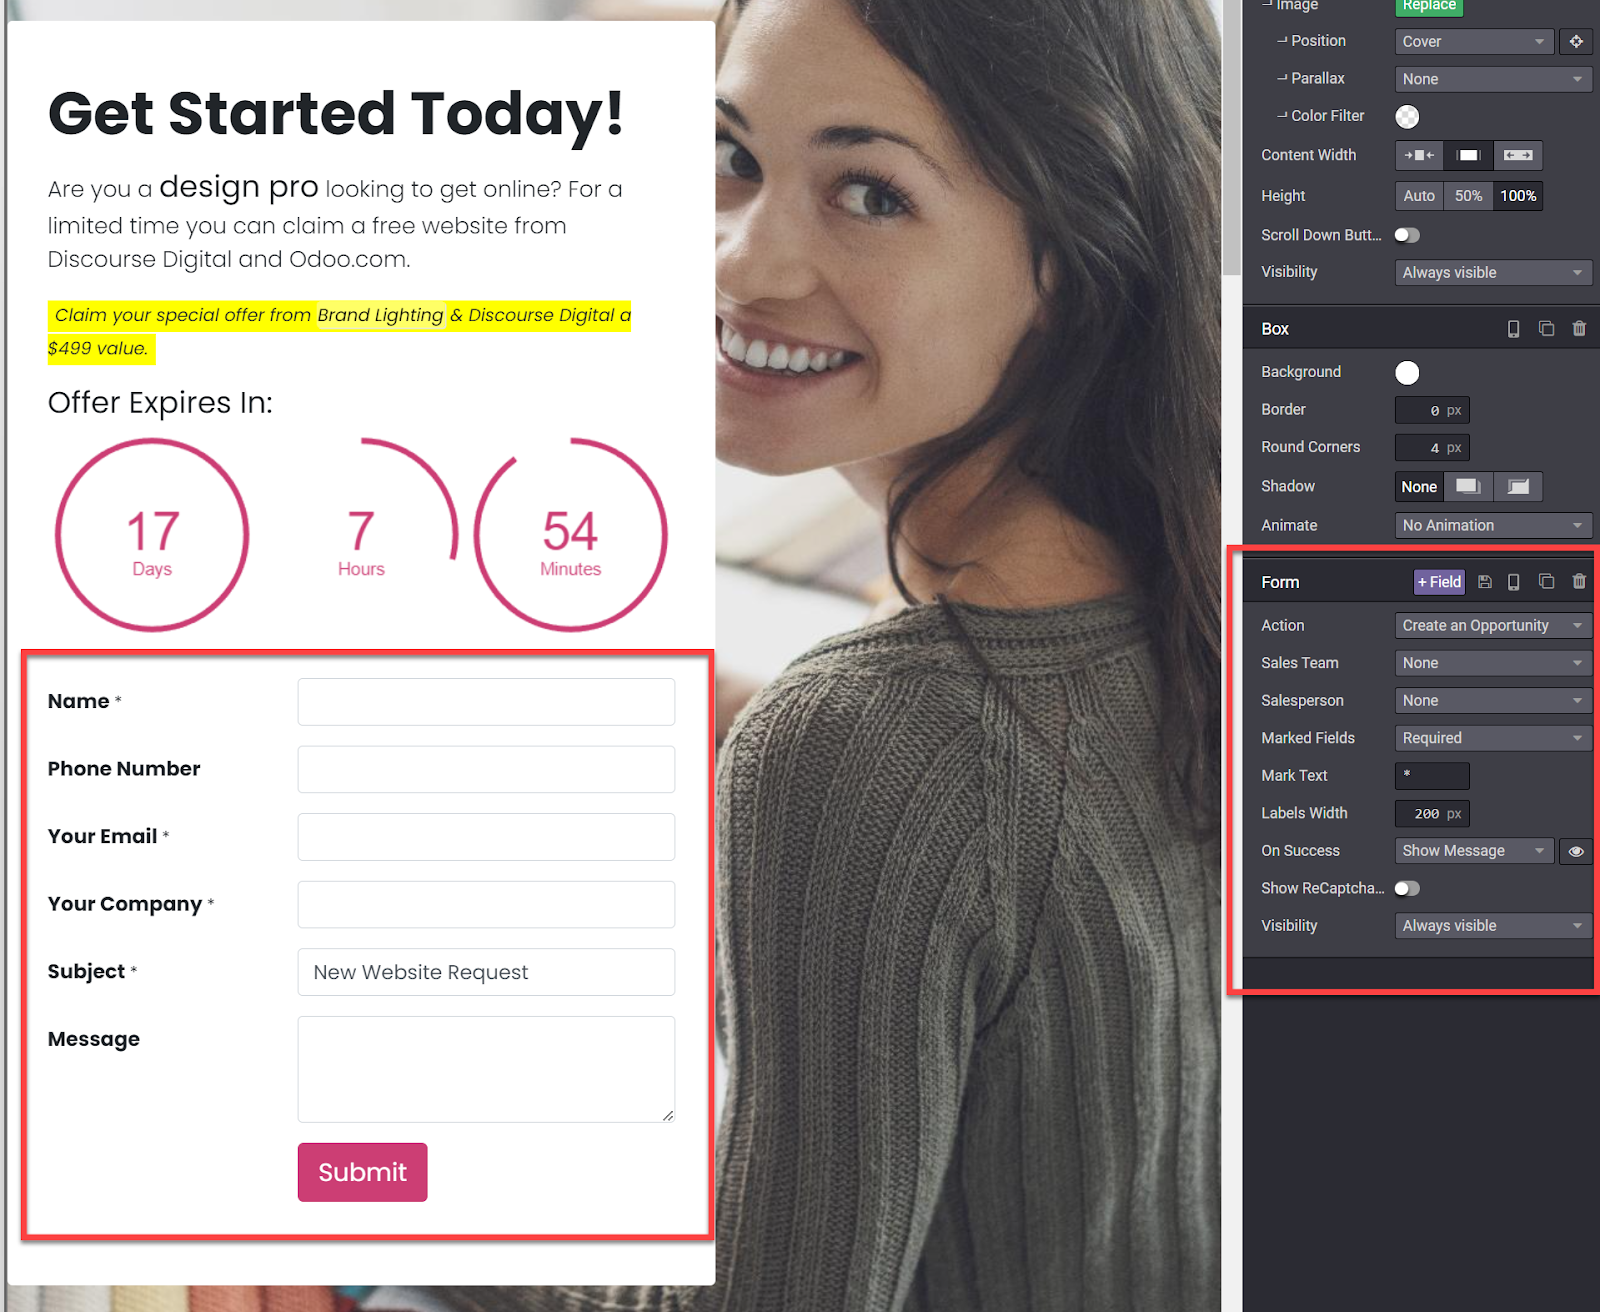
1. Add a form to your landing page
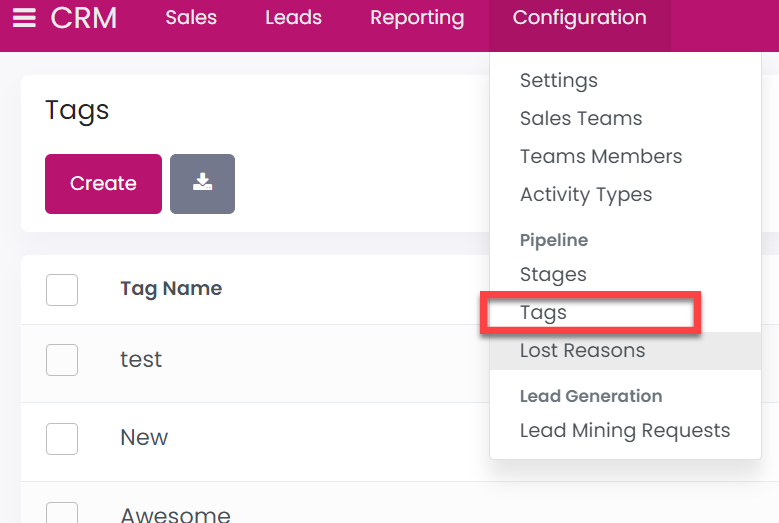
2. Go to CRM > Configuration > Tags and add a tag to identify your form or campaign
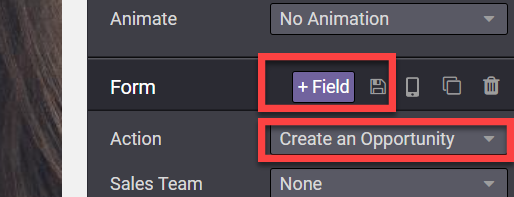
3. Go to your Form and “+Field” of type “Tags” and make sure you have “Create an Opportunity” selected if you are saving Leads
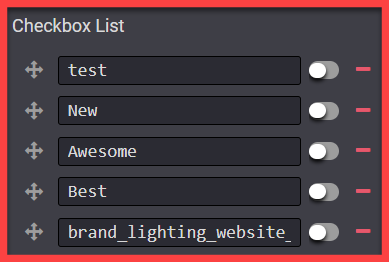
4. Remove the unwanted tags from the list
5. Set the default tag as the one you made for your campaign
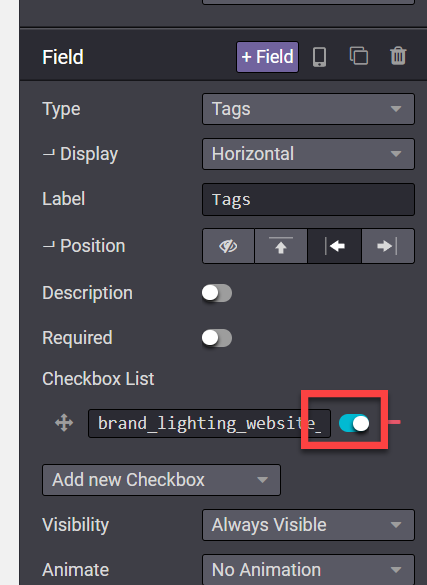
6. Set the field “Visibility” to “Hidden”

7. Save the form
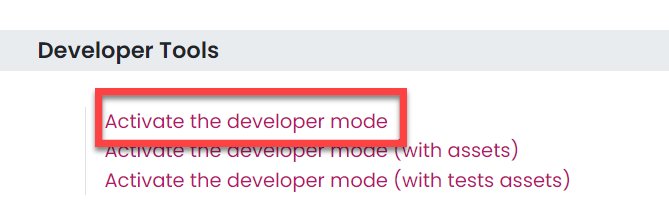
8. Go to Settings and activate developer tools at the bottom of the general settings page
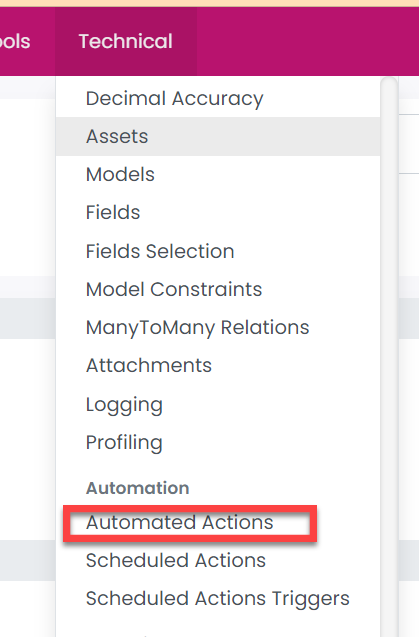
9. Go to Settings > Technical > Automated Actions
10. Create a new action
11. Add a title to identify your Autoresponder
12. Select Model as “Lead/Opportunity” if you are capturing the form as an Opportunity

If you using the newsletter form and adding the contact to a newsletter you can choose “Mailing Contact”
If you are “Creating a Customer” you can choose “Contact”
From “Action To Do” select “Send an Email”
13. For “Trigger” set to “On Create”

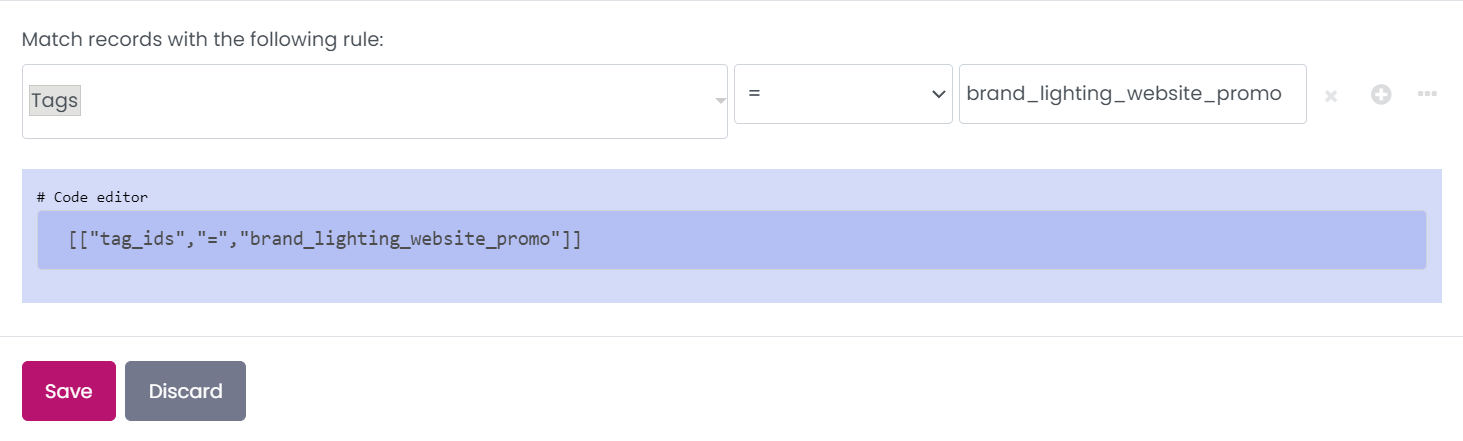
14. For “Apply On” select “Edit Domain”
- Click “Add Filter”
- Select “Tags”
- After the equals sign add the name of the tag you setup for your campaign
15. Select the Email Template or create a new one

16. Save the action
17. Test your form. Emails may take some time to appear in your inbox as your cron jobs determine how often your system will send new emails