
Getting Started
Get up and running with Odoo ERP quickly using Bitnami and Google Cloud. In this tutorial I walk you through each step in setting up a new Odoo ERP instance on Google Cloud Platform from registering a new account to accessing your new website and administration area.
This is a great way to get Odoo running in a private environment for evaluation, development or production.

Click Here to Join me on my Walk Through Course

Step 1. Bitnami

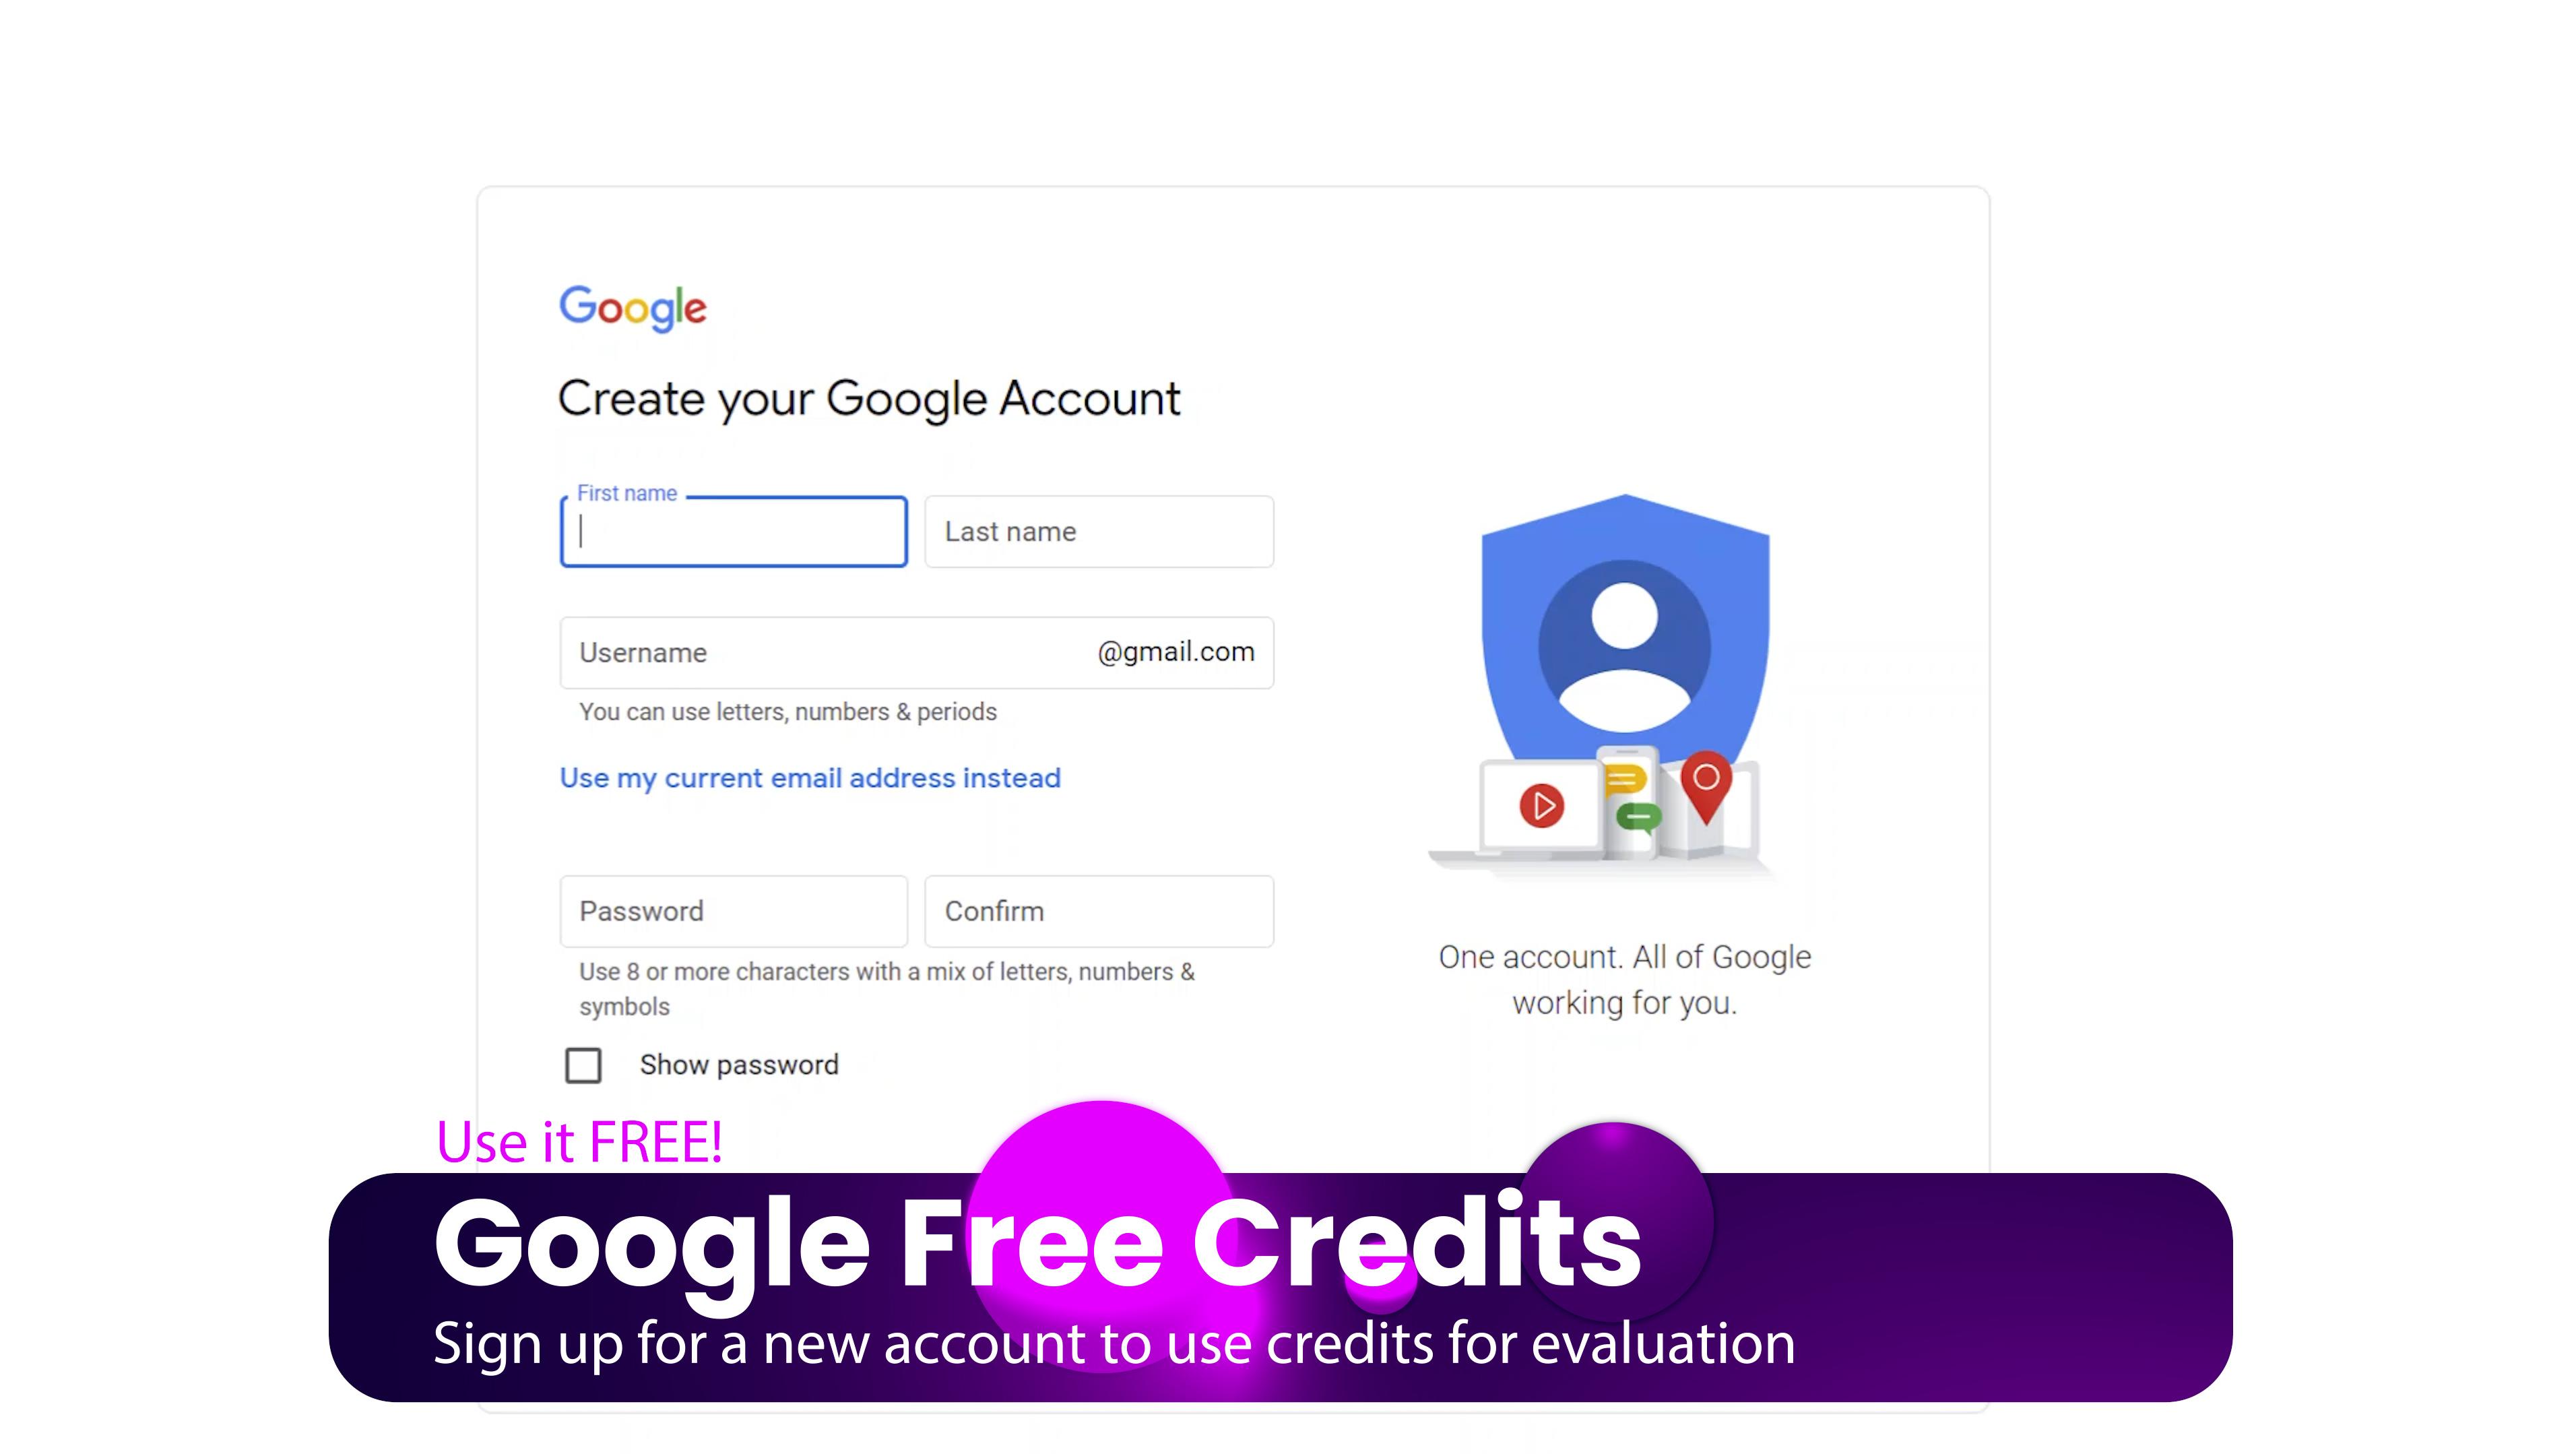
Step 2. Create New Account
Click "Create Account" to create a new Google Account


Step 10. Verify Account
Verify your account.

Step 11. Validate Payment
Validate your payment method to claim your credits.


Step 12. Enable Compute API
Enable the Compute API. If you encounter an error in the link then you can go to https://console.cloud.google.com and click on Compute > VM instances.

Step 13. Enable Deployment API
Enable the Deployment Manager API

Step 14. Completed Milestone 1
You should have completed all the steps and get the "launch" button. Click this to start setup of your Odoo ERP application server.

Step 15. Setup New Odoo VM
Create your new Virtual Machine.
- Enter a name for your machine i.e. my-odoo-eval
- Select the project you made in the previous stage.
- Select the default network type
- Choose between Magnetic (cheaper) or Solid State (faster) hard drives
- Choose the server configuration. You can start with the smallest and move up as needed in the future.
- Choose a region close to you or your customers to serve your app from. Prices for Compute Engines vary by location.

Step 16. Review App Details
After you created your Virtual machine you will get your application details.
- You can click the Administrator link and use the supplied credentials to access the application.
- You can access the application at the IP address until you stop the server, then a new ip address will be assigned unless you use a dedicated IP address.
- You will have a link to mange this machine in Google Console.
- You will have a link to access the SSH tunnel with one click. Useful for setting up addons and running Bitnami tools such as the SSL certificate generator

You will need a domain name (or sub-domain) to add a Free SSL certificate and secure your app

Step 17. Your Odo Apps
Welcome to the Apps home screen. This is where you install the "Apps" or modules that you will use within Odoo ERP. We are going to install the eCommerce, Website and Invoice modules to get our website and store setup quickly.

Step 18. Install eCommerce
Install the eCommerce App

Step 19. Start Setup
Follow the prompts to build your custom website

Step 20. Type of Site
Choose the type of website you want to launch
- A Business Website: information and promotional business website which can be integrated into Project management and CRM modules. Generate business leads, display your expertise or showcase your work with this option.
- An Online Store: Allow customers to shop in a modern mobile first app. your store can be B2B, B2C or anything in between. Tons of options allow you to customize the shop to your needs.
- A Blog: Get more visitors with a fast, modern blog with numerous features to increase exposure through SEO and social sharing. A blog is a great component of any type of site you are creating!
- An Event Website: A full event management system for managing your public, company or private events. Allow users to register, require payment, issue badges, gather attendance and more in a modern web app that can be installed on iOS or Android!
- An eLearning Platform: Educate your employees or the public with a comprehensive eLearning platform. Issue quizzes, test, points and certificates to your users.

Step 21. Site Category
Search for your business category. I chose a Vaporizer Store.

Step 22. Choose Your Goal
Choose your objective.
- Get Leads: Capture user interest with landing pages and forms that integrate with the additional CRM and Project modules.
- Develop the Brand: Design a Brand promotional site with information and resources to promote your brand.
- Sell More: Drive customers to your shop.
- Inform Customers: Keep customers up to date on new products, services, promotions.
- Schedule Appointments: Attract customers with landing pages and easy to fill out forms that integrate with the Appointments modules (Upgrade to Paid version required)

Step 23. Choose a Color Theme
Choose your color theme or upload a logo to have the app provide a suggested color theme.

Step 24. Select New Pages
Select the pages and features to add to your website. pages are shown in green and the features in yellow. You can choose any combination of the open source modules.

Step 25. Building....
Let the system build a few new site themes for you.

Step 26. Choose a Theme
Choose one of the generated layouts

Step 27. Review your new website!
Welcome to your new website! You can edit or explore the pages that the system generated for you by clicking "Discard" in the upper right and then navigating around like a normal website. Click "Edit" in the top right to start editing the page!

Step 28. Explore
Explore the Administration area by click on the tab in the upper left of your screen. The drop down will show you the modules that you have installed. You can head to settings to configure your user accounts but you should setup SSL first!
