

What is Odoo ERP?
Odoo ERP is a comprehensive enterprise resource planning (ERP) software that enables businesses to manage their operations more efficiently. It offers a range of features and modules that can be customized to meet the specific needs of a business.
Join my Free Course to View the Instructional Videos for setting up your own Odoo instance.

Why use Odoo ERP?
There are many reasons why businesses should consider using Odoo ERP. Some of the key benefits include:
- Reduced costs: Odoo ERP can help businesses reduce their operating costs by automating and streamlining business processes.
- Increased efficiency: By automating tasks, businesses can reduce the time it takes to complete tasks, which leads to increased efficiency.
- Improved decision-making: Odoo ERP provides businesses with real-time data that can be used to make better decisions.
- Scalability: Odoo ERP is scalable, which means that it can grow with a business as its needs change.
- Secure: Add-ons for Odoo are contained within the application.
- Fast: The user and customer experience is quick and efficient reducing frustration.
What Can I Use an Odoo Website for?
An Odoo Website can be used for a number of purposes, including:
- Creating a website: An Odoo Website can be used to create and manage a website's pages, menus, products, and customers.
- Selling products online: An Odoo Website can be used to sell products online. It integrates with Odoo ERP, allowing you to manage your online shop's inventory and orders.
- Managing a blog: An Odoo Website can be used to manage a blog. It provides a simple interface for creating and editing blog posts, and allows you to easily add images and videos.
- Managing a company's operations: An Odoo Website can be used to manage a company's operations. It provides a central location for storing company information, such as contact details, pricing, and product catalogs.
- Managing a team's work: An Odoo Website can be used to manage a team's work. It allows you to create and manage tasks, projects, and deadlines, and provides a central location for sharing files and documents.
What platforms does Odoo ERP support?
Odoo ERP is supported on a number of different platforms, including Windows, Mac, Linux, and Android. It can also be accessed through a web browser on any device, including smartphones and tablets.
What is Bitnami?
Bitnami is a company that provides ready-to-run applications for the cloud, as docker images, as kubernetes charts and as locally executable applications. It offers a range of applications, including Odoo ERP, that can be easily deployed on popular cloud platforms such as Google Cloud Platform, Amazon Web Service and Mircosoft Azure.
What is Google Cloud Platform?
Google Cloud Platform is a suite of public cloud services offered by Google. It enables businesses to run their applications and store their data in Google's data centers. Google Cloud Platform offers a range of services, including compute, storage, networking, and big data products.
How can Bitnami and Google Cloud Platform help me set up Odoo ERP?
Bitnami and Google Cloud Platform make it easy for you to set up Odoo ERP on the cloud or your local servers. Bitnami provides ready-to-use Odoo container that can be deployed quickly and easily. Additionally, Bitnami offers a range of support documentation to help you get started with your Odoo ERP deployment.
How much does it cost to set up Odoo ERP on Bitnami and Google Cloud Platform?
The cost of setting up Odoo ERP on Bitnami and Google Cloud Platform varies depending on the platform you choose and the size of your deployment. You can expect to pay about $35/mo with the minimum allowed configuration and go as high as the sky depending on your storage, user count and overall system usage increase.
Hosting your Odoo instance in the cloud will allow you to scale rather easily as your demands increase. You can start small and move up your machine and storage capacities as your usage of the system increases.
Why should I use Bitnami to launch Odoo?
Bitnami offers a range of advantages when launching Odoo, including:
- One-click deployment: Bitnami provides one-click deployment of Odoo on popular cloud platforms, such as Google Cloud Platform and Amazon Web Services.
- Pre-configured applications: Bitnami pre-configures its applications, making them easy to deploy and use.
- Security: Bitnami applications are secure, thanks to the tight integration with popular cloud providers.
- Support: Bitnami offers comprehensive support for its applications, including documentation, forums, and live chat.
- Certification: Bitnami is a registered trademark of Bitnami Labs Inc. and has been awarded the "Cloud Challenger" badge by Cloud Hosting Review.
In today's business world, it is essential to have a comprehensive enterprise resource planning (ERP) system in order to effectively manage a company's operations. Odoo ERP is one of the most popular ERP systems available, and it offers a number of advantages over other systems, such as its wide range of features and its low cost.
However, setting up Odoo ERP can be a challenging task, especially for those who are not familiar with the system. In this article, we will show you how to set up Odoo ERP on Bitnami and Google Cloud Platform. We will also discuss the benefits of using Bitnami and Google Cloud Platform to deploy Odoo ERP.
How can I get started with Odoo ERP on Bitnami and Google Cloud Platform?
To get started with Odoo ERP on Bitnami and Google Cloud Platform, you first need to create a Google Cloud Platform account. You can then deploy Odoo ERP on your cloud platform by following the instructions provided by here or by Bitnami and Google Cloud Platform.
How long does it take to setup Odoo?
The time it takes to set up Odoo depends on a number of factors, including the size and complexity of your deployment, which apps you need and the complexity of your security requirements. However, in general, you can expect to have Odoo server up and running within 60 minutes. It will take several more hours to deploy your desired apps and configure your settings. Overall a very minimal Odoo setup should take about 2 days to get up and running.
What is an Odoo Website?
Odoo Websites are a set of tools that allow you to manage your website content and online shop from within Odoo. With Odoo Websites, you can create and manage your website's pages, menus, products, and customers from a single interface. Additionally, Odoo Websites integrates with Odoo ERP, allowing you to manage your online shop's inventory and orders from within Odoo ERP.
Why use Bitnami Certified Apps?
Bitnami certifies its applications with a number of leading cloud providers, including Amazon Web Services, Google Cloud Platform, Microsoft Azure, and more. When you deploy a Bitnami certified app, you can be sure that it is pre-configured to work with your cloud provider. Additionally, Bitnami offers comprehensive support for its applications, including documentation, forums, and live chat.
What are the benefits of using Google Cloud Platform?
Google Cloud Platform offers a number of benefits when compared to other cloud providers, including:
- Low cost: Google Cloud Platform offers some of the lowest prices in the cloud market.
- Wide range of services: Google Cloud Platform offers a wide range of services, including compute, storage, networking, big data, and more.
- Easy to use: Google Cloud Platform is easy to use, with a simple interface and comprehensive documentation.
- Scalable: Google Cloud Platform is scalable, allowing you to quickly and easily add resources as your needs grow.
- Reliable: Google Cloud Platform is reliable, with a 99.9% uptime guarantee.
Steps on How to Set up a Google Account, a Bitnami Account and deploy Odoo v15 to Google Cloud

Step 1.

Step 2.
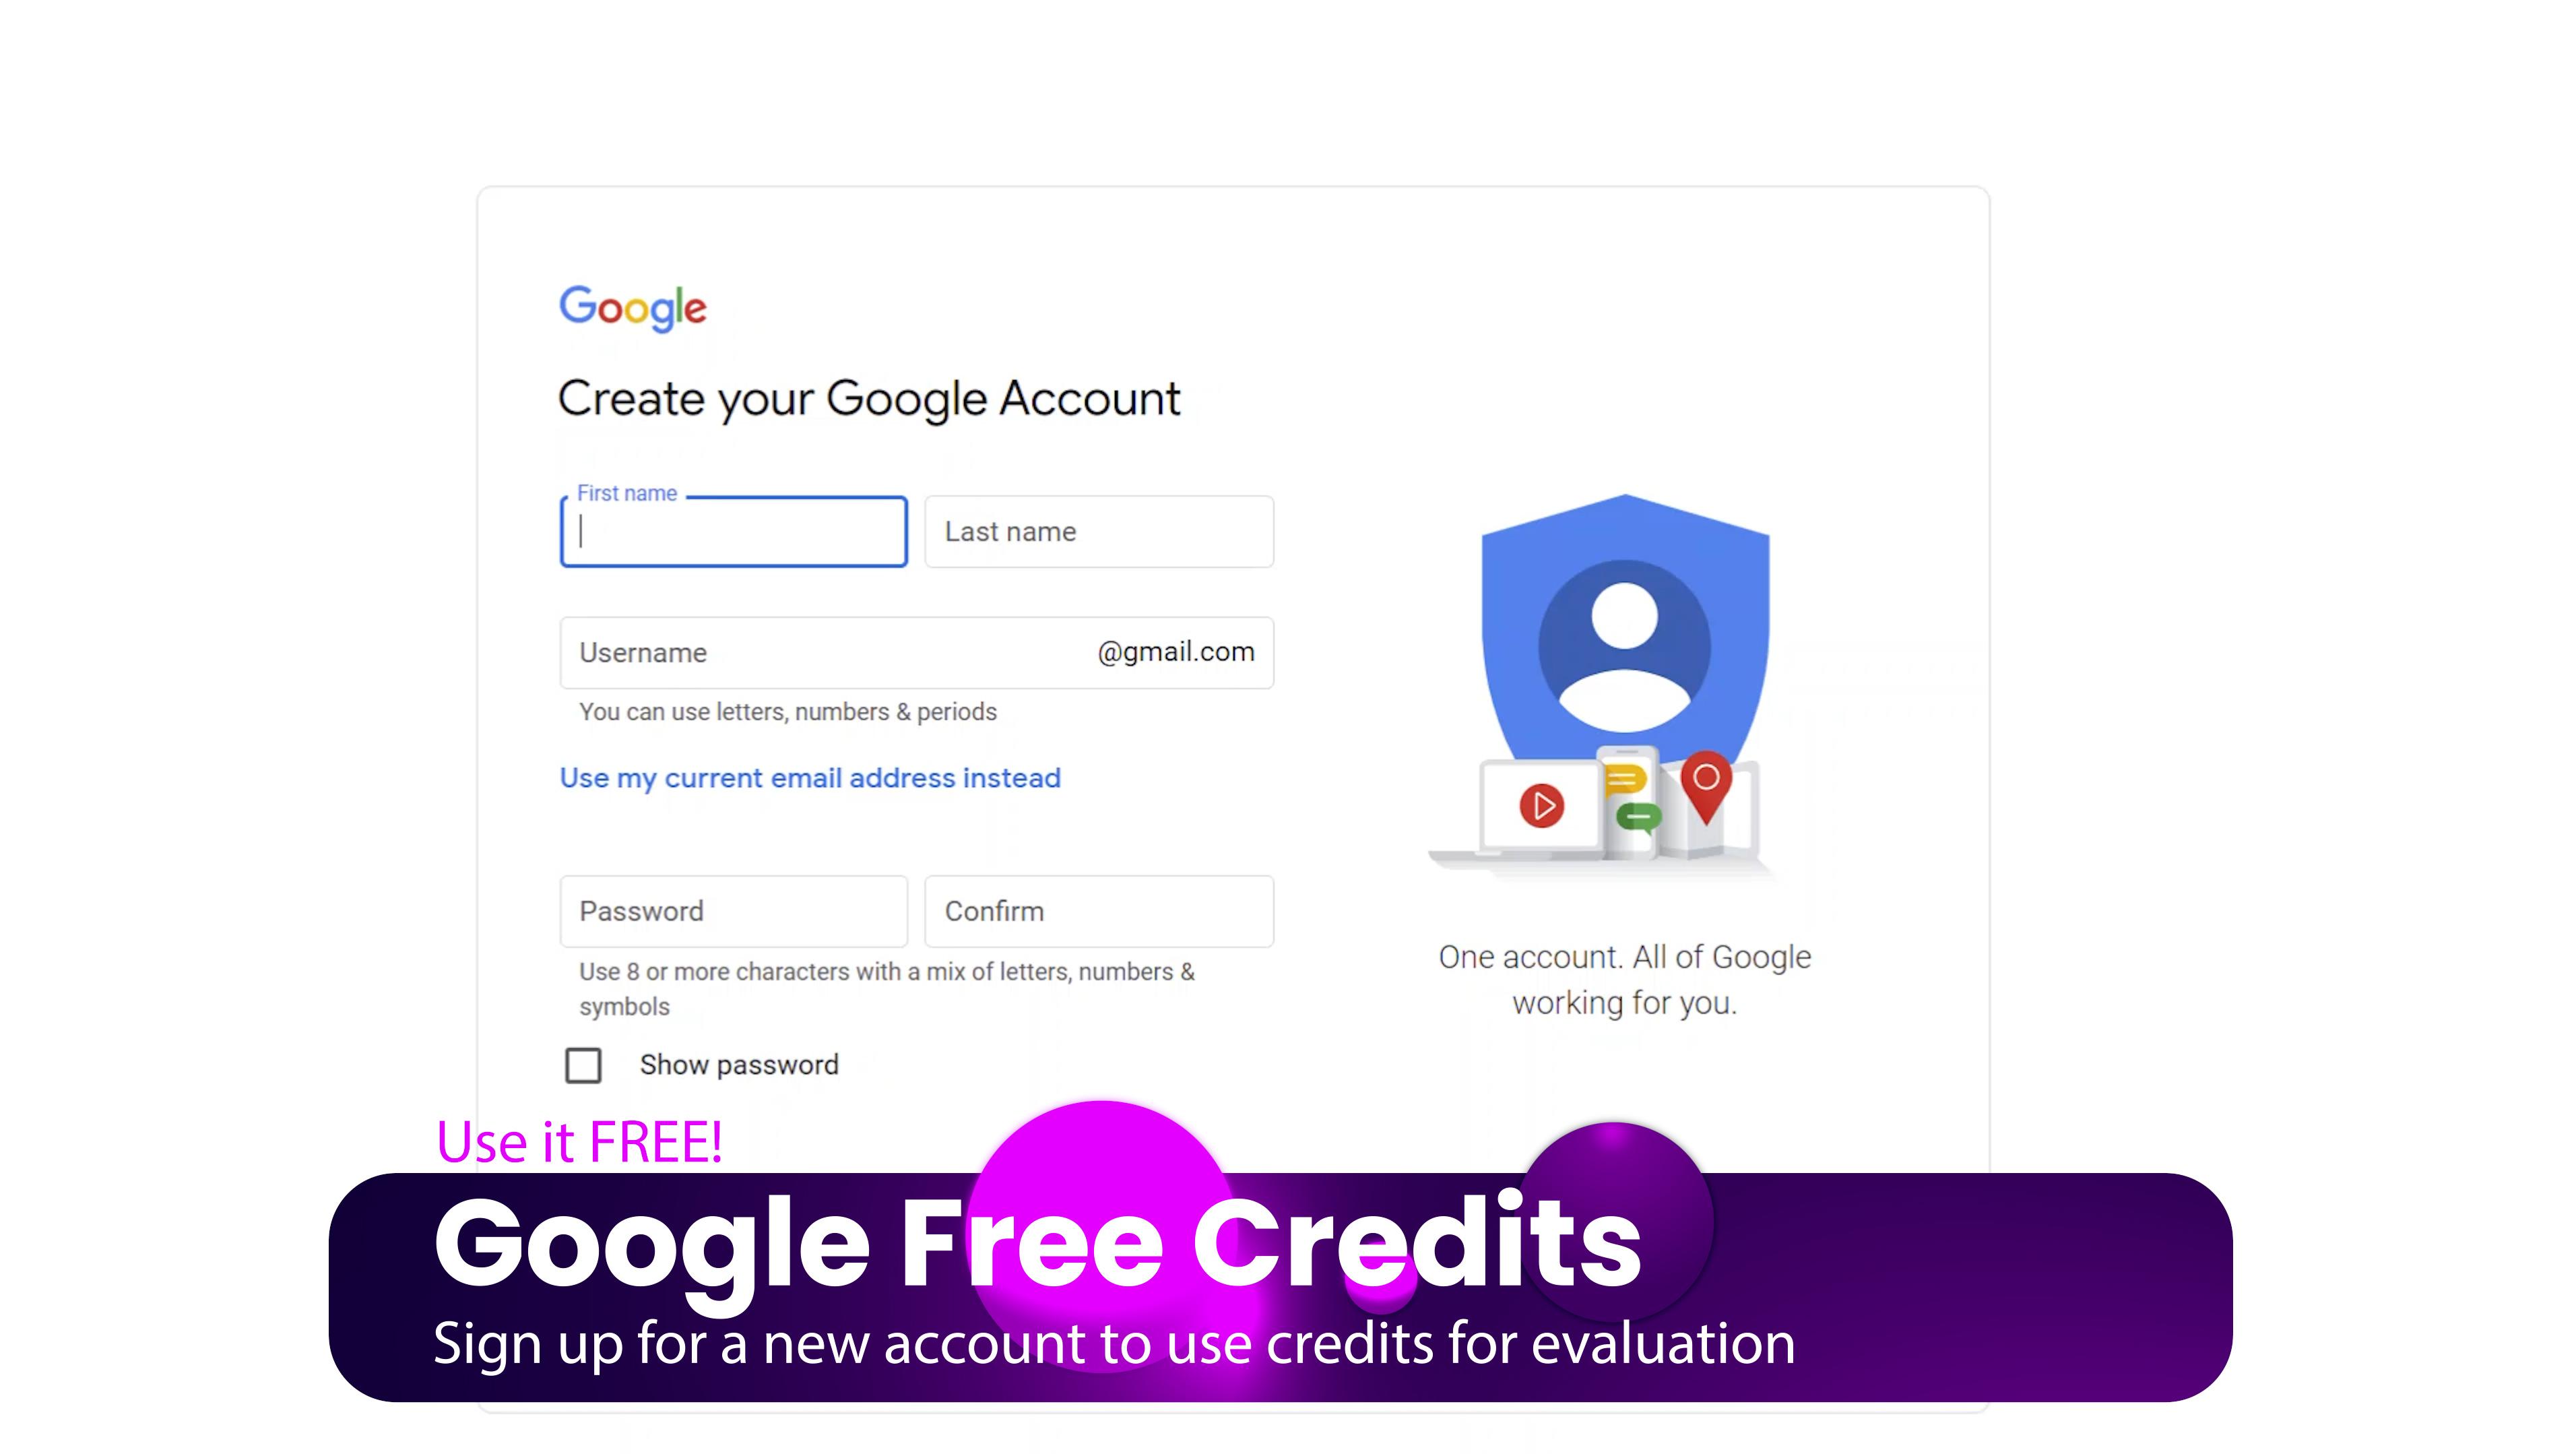
Click "Create Account" to create a new Google Account


Step 10.
Verify your account.

Step 11.
Validate your payment method to claim your credits.


Step 12.
Enable the Compute API. If you encounter an error in the link then you can go to https://console.cloud.google.com and click on Compute > VM instances.

Step 13.
Enable the Deployment Manager API

Step 14.
You should have completed all the steps and get the "launch" button. Click this to start setup of your Odoo ERP application server.

Step 15.
Create your new Virtual Machine.
- Enter a name for your machine i.e. my-odoo-eval
- Select the project you made in the previous stage.
- Select the default network type
- Choose between Magnetic (cheaper) or Solid State (faster) hard drives
- Choose the server configuration. You can start with the smallest and move up as needed in the future.
- Choose a region close to you or your customers to serve your app from. Prices for Compute Engines vary by location.

Step 16.
After you created your Virtual machine you will get your application details.
- You can click the Administrator link and use the supplied credentials to access the application.
- You can access the application at the IP address until you stop the server, then a new ip address will be assigned unless you use a dedicated IP address.
- You will have a link to mange this machine in Google Console.
- You will have a link to access the SSH tunnel with one click. Useful for setting up addons and running Bitnami tools such as the SSL certificate generator

You will need a domain name (or sub-domain) to add a Free SSL certificate and secure your app

Step 17.
Welcome to the Apps home screen. This is where you install the "Apps" or modules that you will use within Odoo ERP. We are going to install the eCommerce, Website and Invoice modules to get our website and store setup quickly.

Step 18.
Install the eCommerce App

Step 19.
Follow the prompts to build your custom website

Step 20.
Choose the type of website you want to launch
- A Business Website: information and promotional business website which can be integrated into Project management and CRM modules. Generate business leads, display your expertise or showcase your work with this option.
- An Online Store: Allow customers to shop in a modern mobile first app. your store can be B2B, B2C or anything in between. Tons of options allow you to customize the shop to your needs.
- A Blog: Get more visitors with a fast, modern blog with numerous features to increase exposure through SEO and social sharing. A blog is a great component of any type of site you are creating!
- An Event Website: A full event management system for managing your public, company or private events. Allow users to register, require payment, issue badges, gather attendance and more in a modern web app that can be installed on iOS or Android!
- An eLearning Platform: Educate your employees or the public with a comprehensive eLearning platform. Issue quizzes, test, points and certificates to your users.

Step 21.
Search for your business category. I chose a Vaporizer Store.

Step 22.
Choose your objective.
- Get Leads: Capture user interest with landing pages and forms that integrate with the additional CRM and Project modules.
- Develop the Brand: Design a Brand promotional site with information and resources to promote your brand.
- Sell More: Drive customers to your shop.
- Inform Customers: Keep customers up to date on new products, services, promotions.
- Schedule Appointments: Attract customers with landing pages and easy to fill out forms that integrate with the Appointments modules (Upgrade to Paid version required)

Step 23.
Choose your color theme or upload a logo to have the app provide a suggested color theme.

Step 24.
Select the pages and features to add to your website. pages are shown in green and the features in yellow. You can choose any combination of the open source modules.

Step 25.
Let the system build a few new site themes for you.

Step 26.
Choose one of the generated layouts

Step 27.
Welcome to your new website! You can edit or explore the pages that the system generated for you by clicking "Discard" in the upper right and then navigating around like a normal website. Click "Edit" in the top right to start editing the page!

Step 28.
Explore the Administration area by click on the tab in the upper left of your screen. The drop down will show you the modules that you have installed. You can head to settings to configure your user accounts but you should setup SSL first!
